This document explains the features available for an admin users. Admin user should set
up payment gateways, Then
customers can place orders. Order management, invoice management, plan management etc
can be done by the
admin user.
2. Admin Login
An admin have to login to Monitoring Zone to use the system.
Admin will be provided with default login credentials.
For logging in to the system, admin have to use the address https://saas.monitoring.zone/admin/login
manually. Note: https://saas.monitoring.zone should be replaced with
your domain address.
After login, the page will be automatically redirected to the admin dashboard of
Monitoring Zone.
Admin can reset their password from profile section after logged in.
2.1 Reset Password
Admin can reset their password from profile section after logged in.
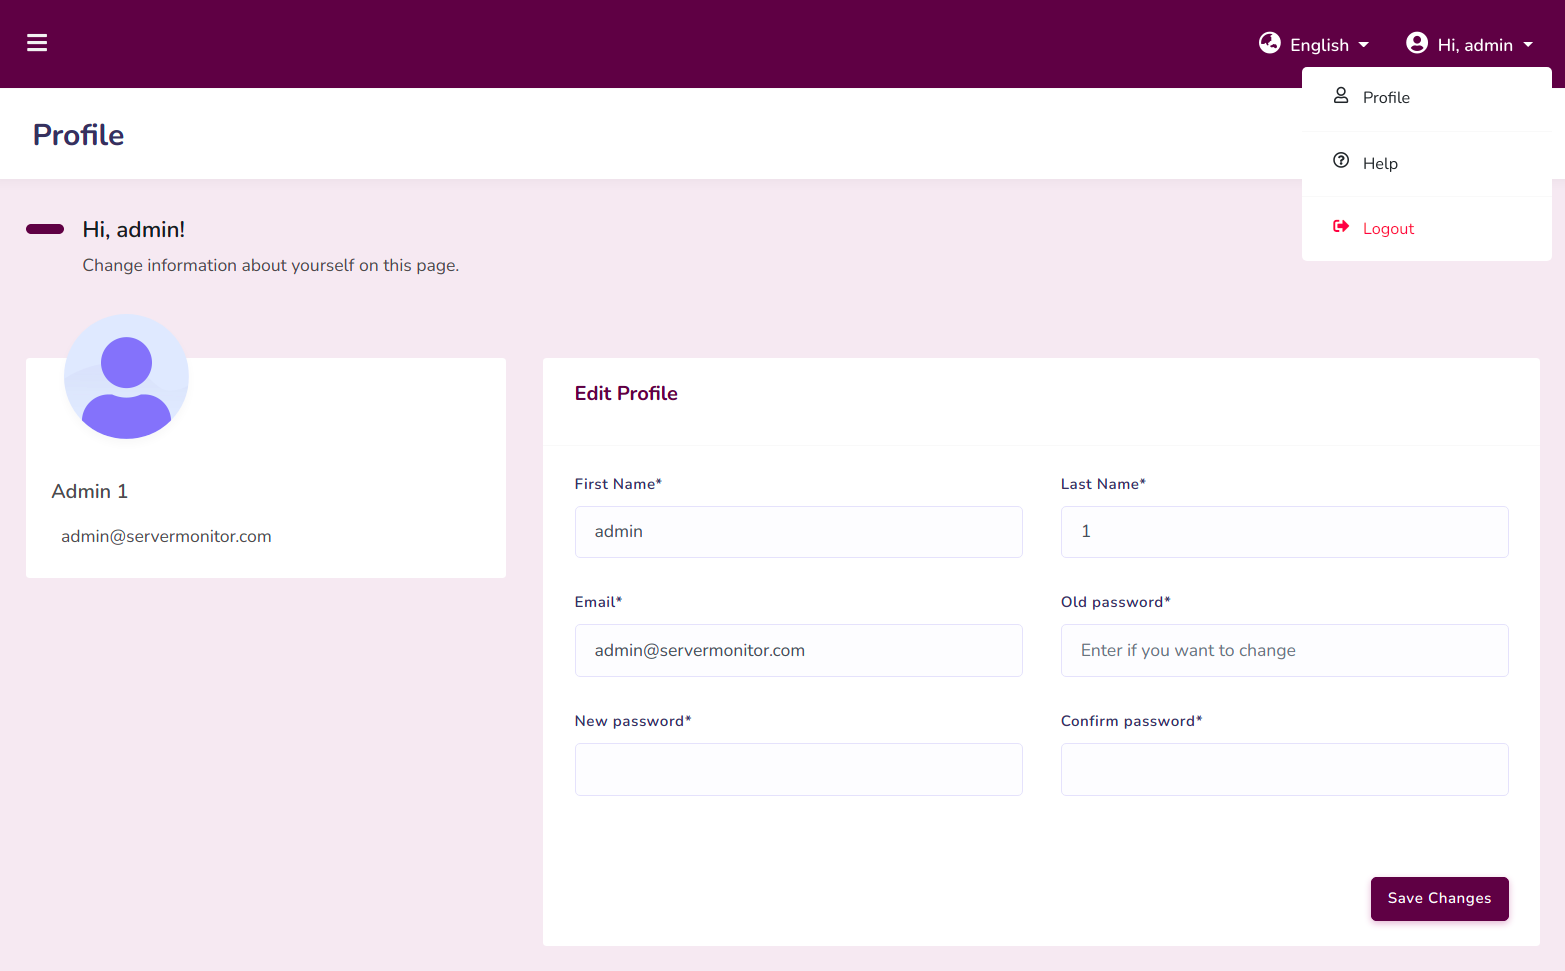
The admin can view or update their profile from the profile section. They can update
their user details and login password from here.
Admin profile:
Fig.2.2 Admin profile
3. Dashboard
Dashboard view:
Fig.3.1 Dashboard
The admin is provided with a dashboard which gives the monitor statistics, Incident statistics very quickly.
It includes total count, down count and up count of servers, webpages, and APIs.
Also provides the count of public pages in each type.
4. User Management
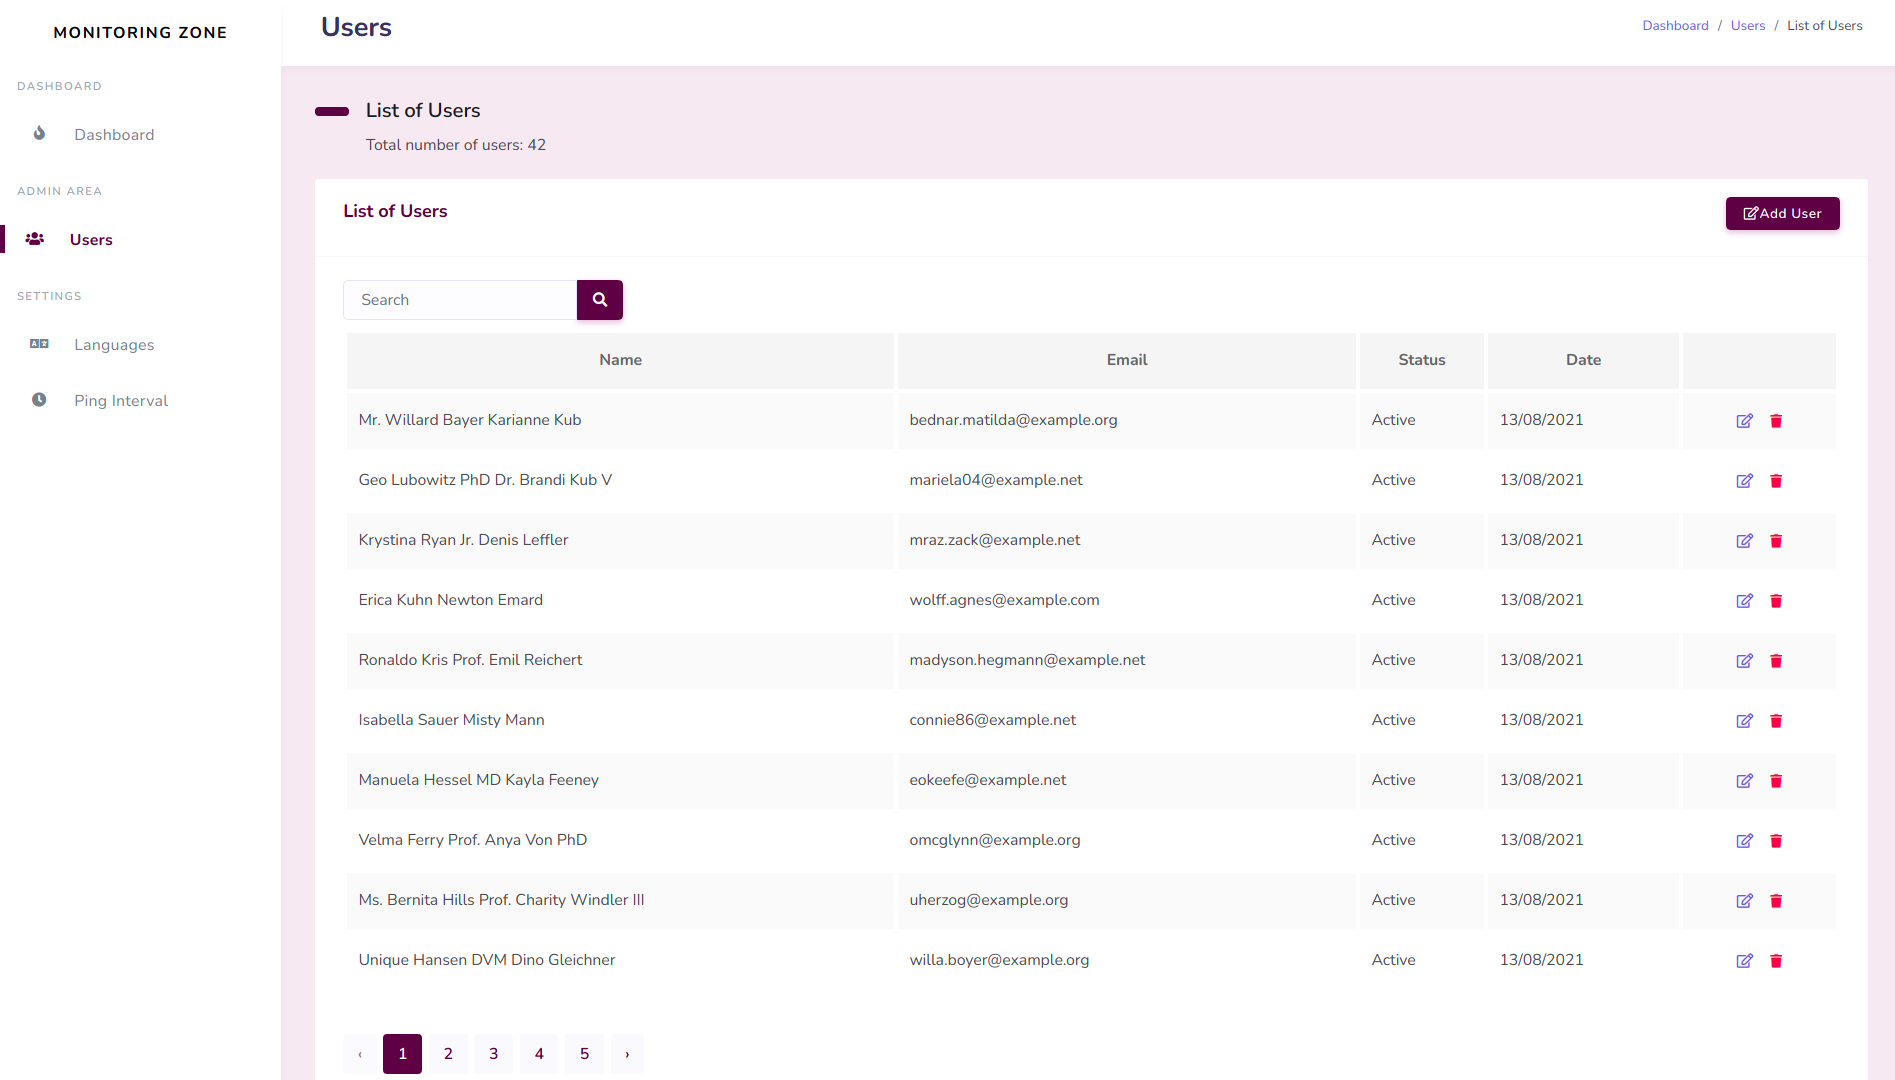
List of users:
Fig.4.1 List of users
The admin can get the details of all users registered with the system using "Users"
link provided in the panel.
They can Add, Edit or Delete the users from this sections. Also they can get the
current status of the user.
From the listing page admin can search users with their name or Email address.
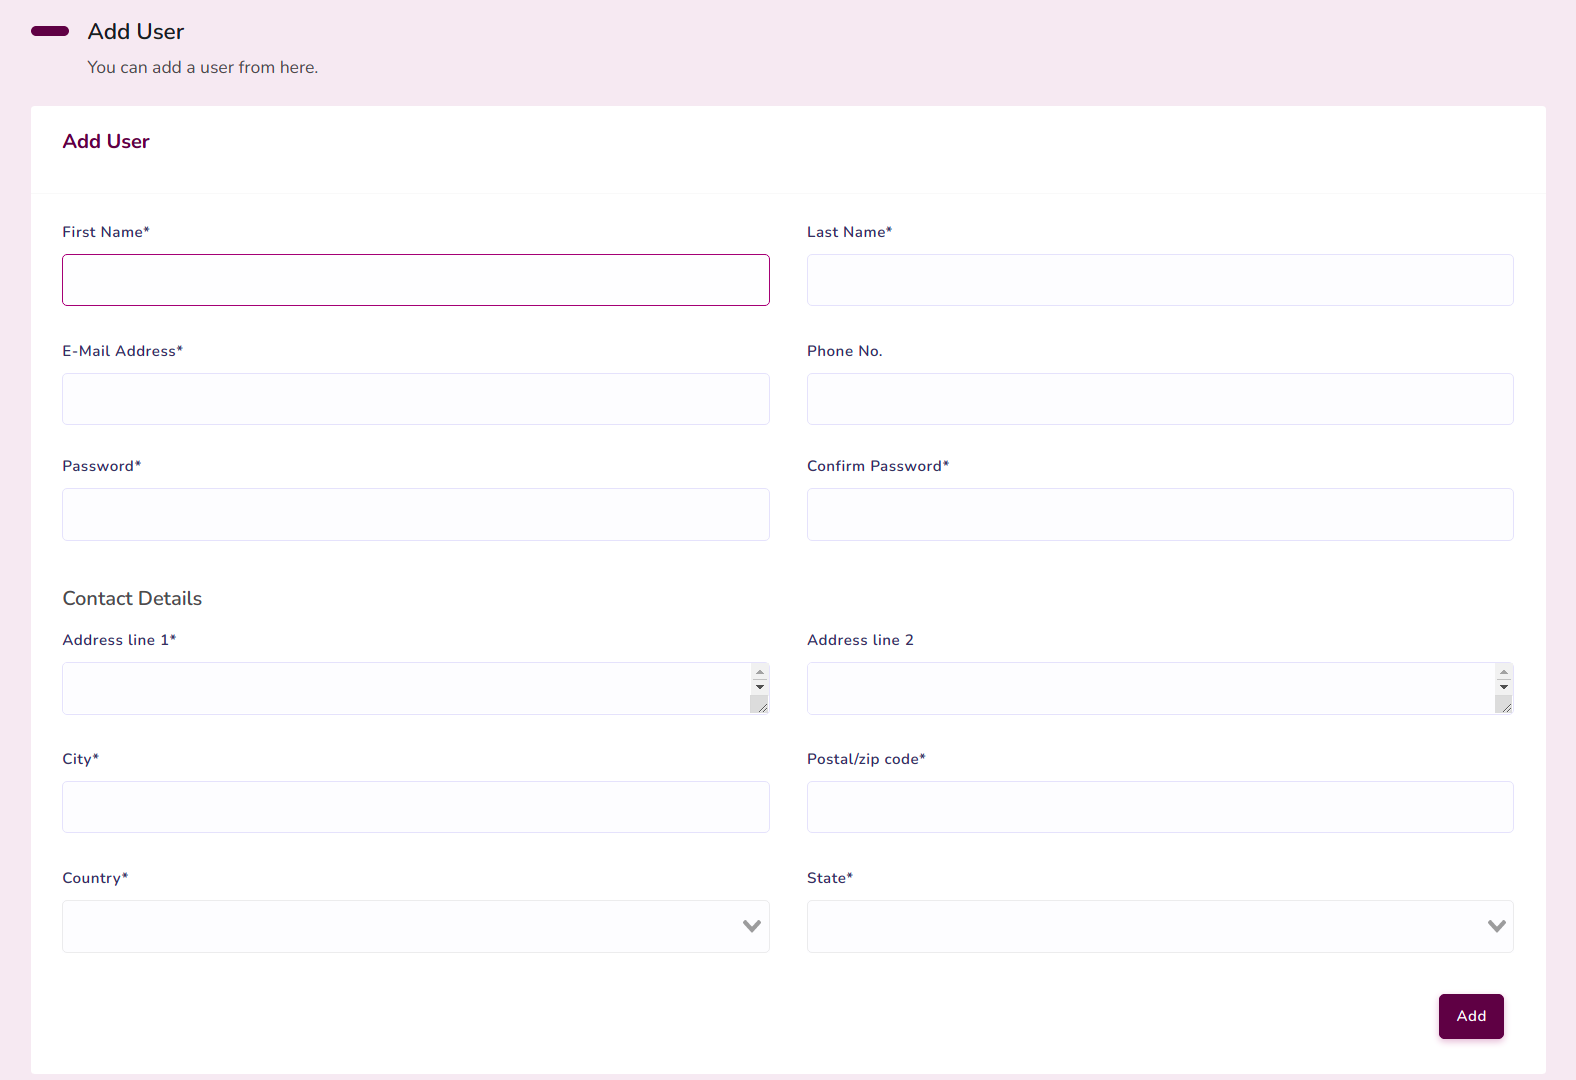
4.1 Add a User
Add user page:
Fig.4.2 Add user page
The admin can add a user by clicking "Add User" link provided in the users page.
They should provide first and last name of the user, Email address, password and
address details of the user.
User have to verify their email address when they login at first time.
After adding a user, the default status of user will be "Active". Admin can change this
status from update user page accordingly.
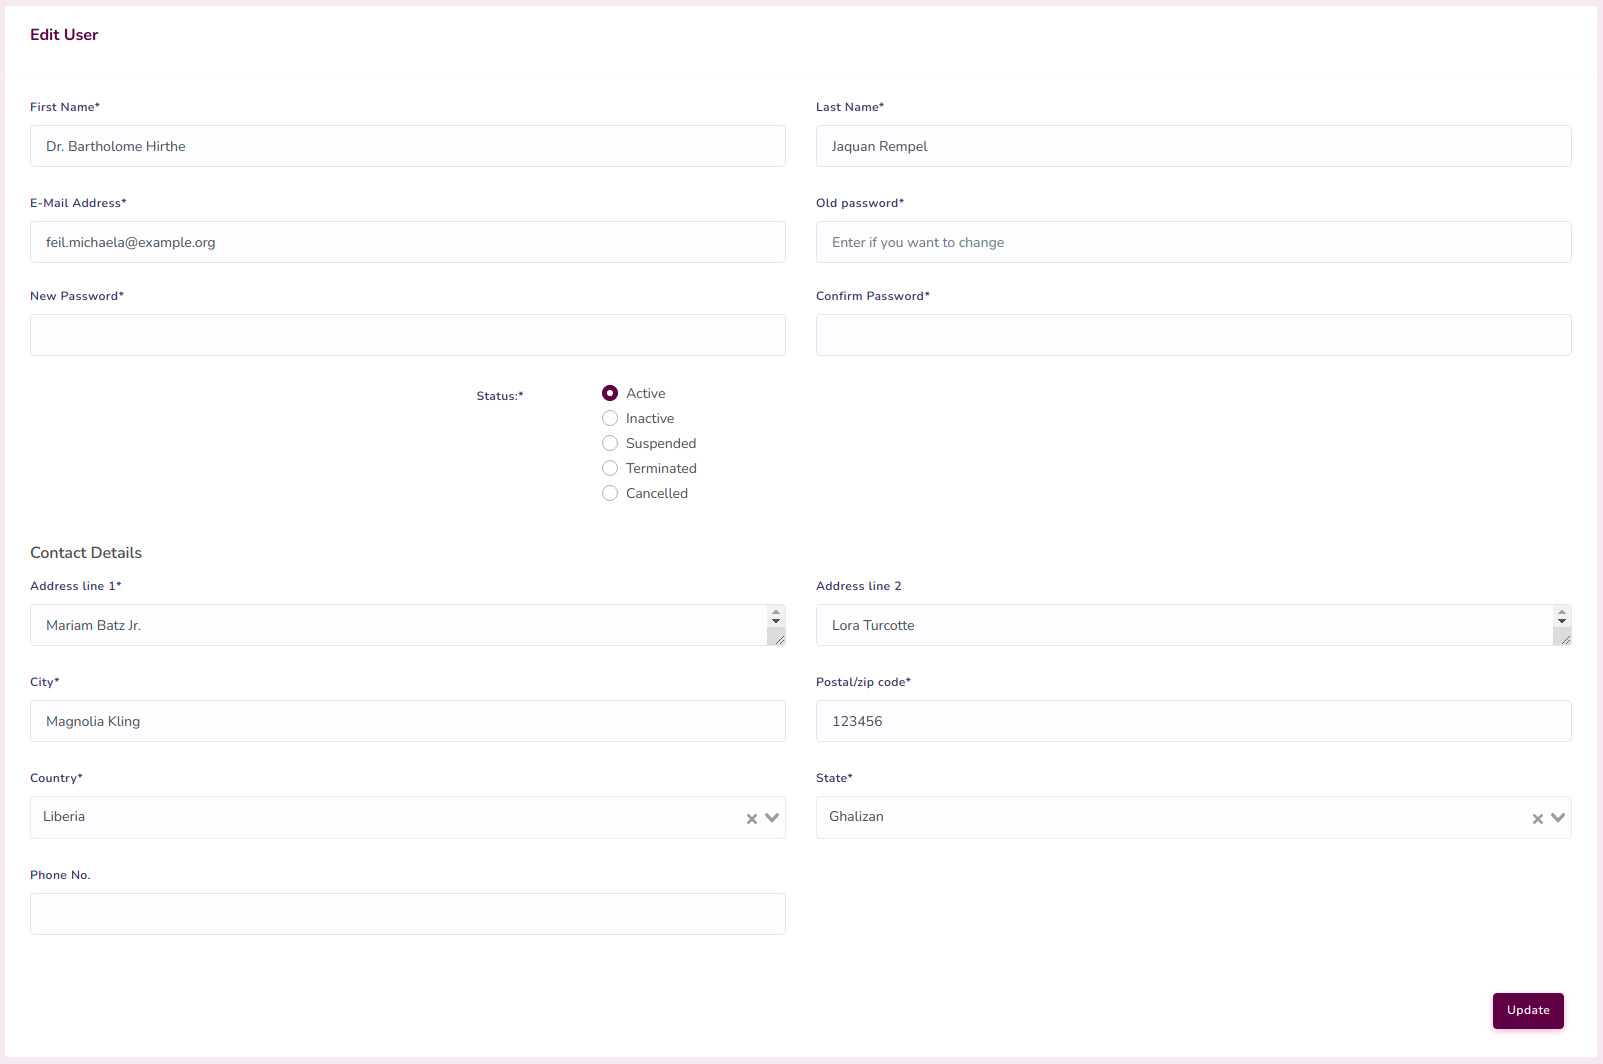
4.2 Update a User
Update user page:
Fig.4.3 Update user page
The admin can update a user by clicking on edit link provided in users page.
They have to provide their updated details as done in the add section.
One extra option will be status. They can update the status of a user from this page.
5. Settings
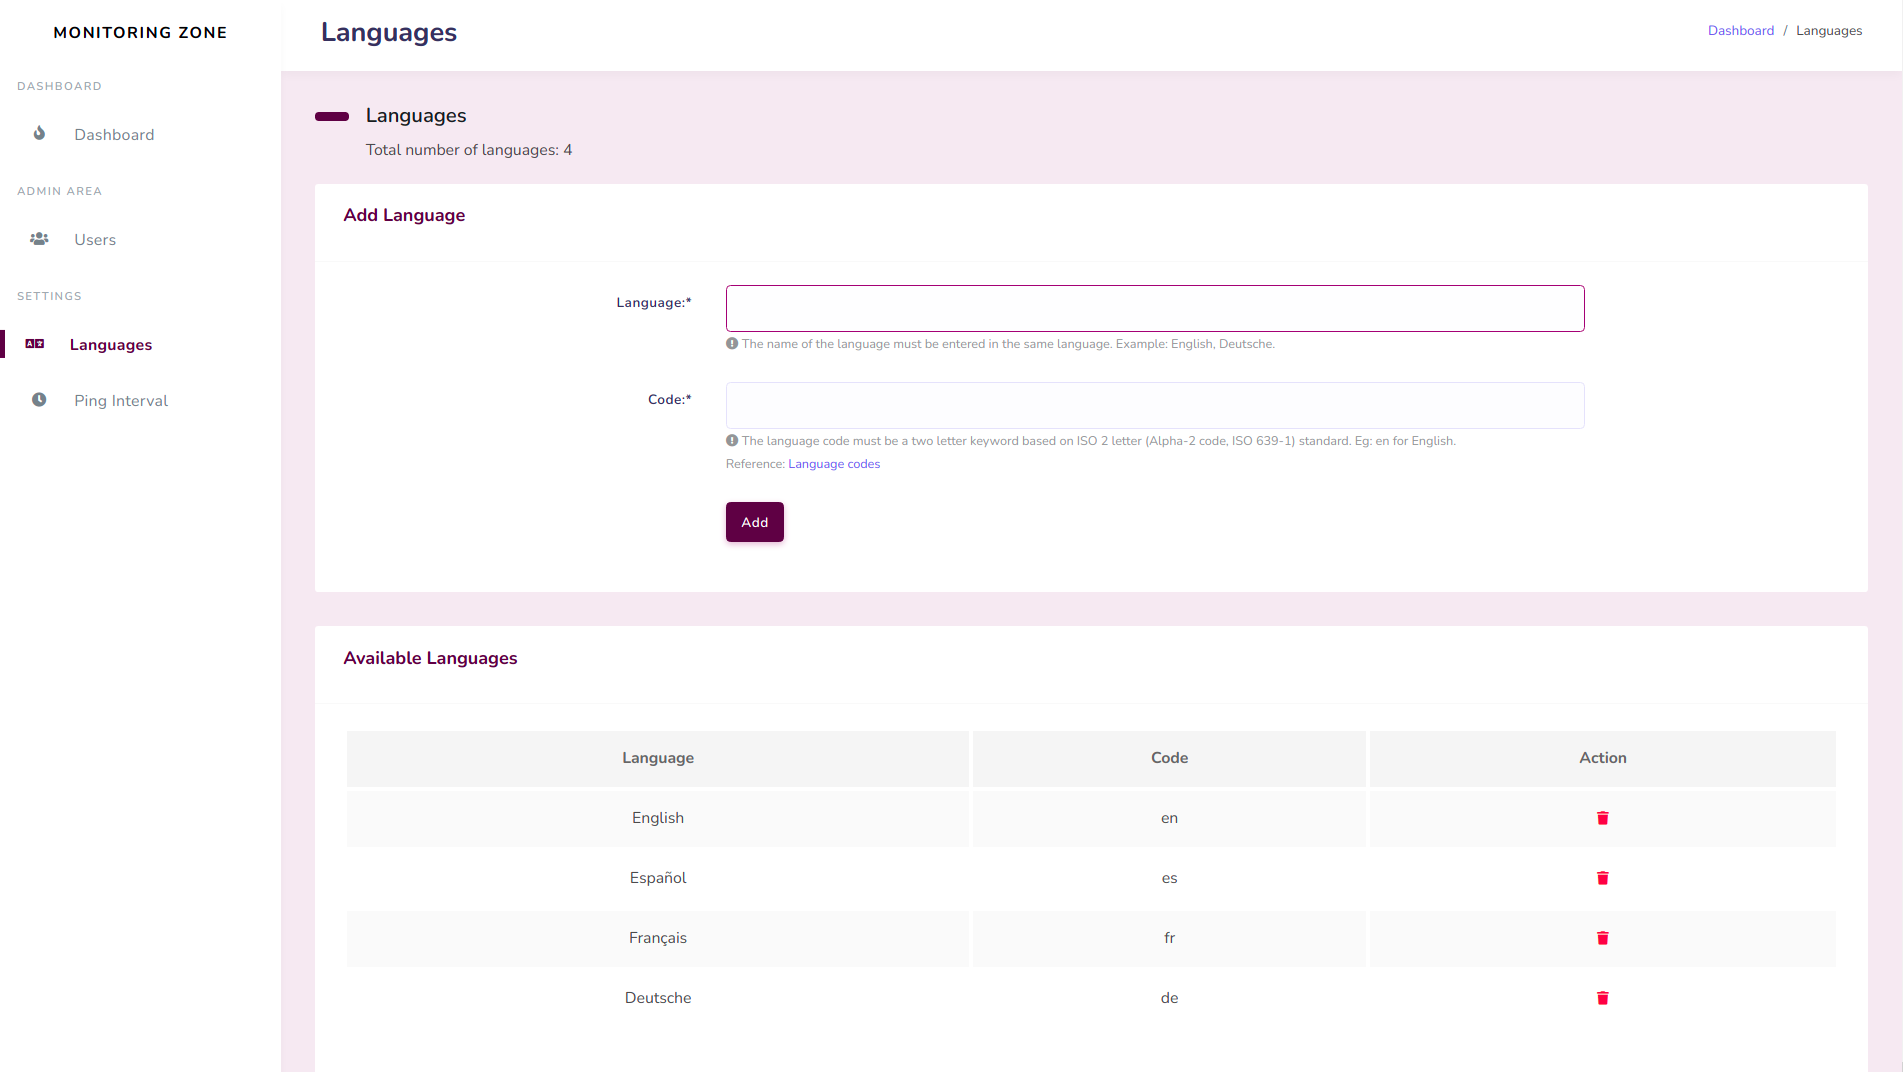
5.1 Add a Language
Languages:
Fig.5.1 Languages
It is a multilingual system.Admin can add a language to the system by the help of
developers.
For that, first of all you have to add the language name and language code from Add
language option in settings section.
Not that the name of the language must be entered in the same language. Example:
English, Deutsche..
Also, the language code must be a two letter keyword based on ISO 2 letter (Alpha-2
code, ISO 639-1) standerd. Eg: en for English.
Reference:
Language codes.
After that, you have to contact the developer team to set up the translation file.
5.2 Ping Interval
Ping interval management:
Fig.5.2 Ping interval management
Ping interval is the status checking intervals for monitoring a system.
The admin should add some ping intervals to the system from settings.
That ping intervals will be listed to users when they add a server,webpage or API. So
they can't add a ping interval as they want.